Uploading
Uploading always starts by selecting a folder to upload images to. The folder tree is shown on the left side. If it is not shown, press the three menu lines in the very top left corner:
Add files by dragging and dropping them onto the Upload window. Alternatively, press Add files then select any number of file and press enter. Shown immediately below is an example of adding files by dropping an entire folder onto the upload window from Windows Explorer.

Things to know about uploading:
- Entire folders may be added. When dropping a folder on this upload page, any sub-folders and their images will be included. The folder structure will be reflected within DBGallery.
- Upload multiple folders. After dropping / adding the first folder, do the same with as many folders as you wish. Just keep pressing the Add Files button, or dragging and dropping folders. You needn’t wait for the first one added to complete. If the subsequent folder(s) need to go into a different area of DBGallery, open DBGallery in as many tabs as you wish and add files to those.
- Any file type may be added.
- Files may be of any size. (The maximum file size is limited only by available storage.)
- Open other tabs while waiting for uploads to complete. Uploading can take a while and you must stay on that upload area until it completes or the upload stops. To do other operations in DBGallery while uploading open another tab. For example, to tag previous uploads or do a search, etc, open another tab and go DBGallery. Open as many tabs as needed to do various operations within DBGallery.
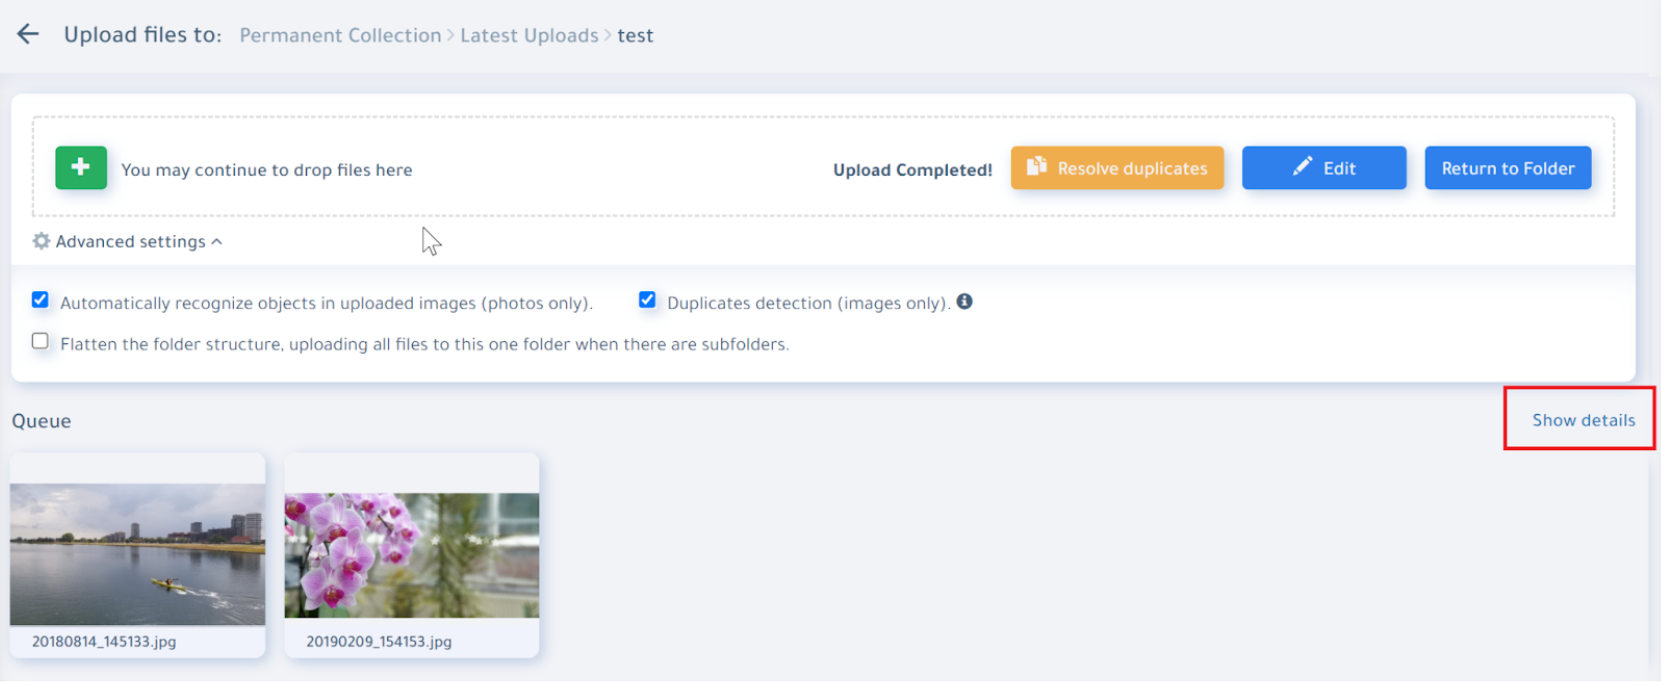
Be sure to select Automatically Recognize Objects and Duplicates Detection if appropriate (they usually are). Recognizing objects will automatically tag common items found in photos. Those two options are found by pressing ‘Advanced settings’ just under the Upload button (and are shown in the screenshot below the next one).
During Upload
While uploading, data details of the images or just thumbs may be shown. If details are shown, recognized objects may be shown as well as address info for images which have GPS coordinates (see the info in the two red boxes below). Any Camera Exif data as well as any existing IPTC/XMP metadata will also be read. IPTC/XMP metadata is the standard for storing metadata, such as title and keywords, directly in photo, video, and PDF files.
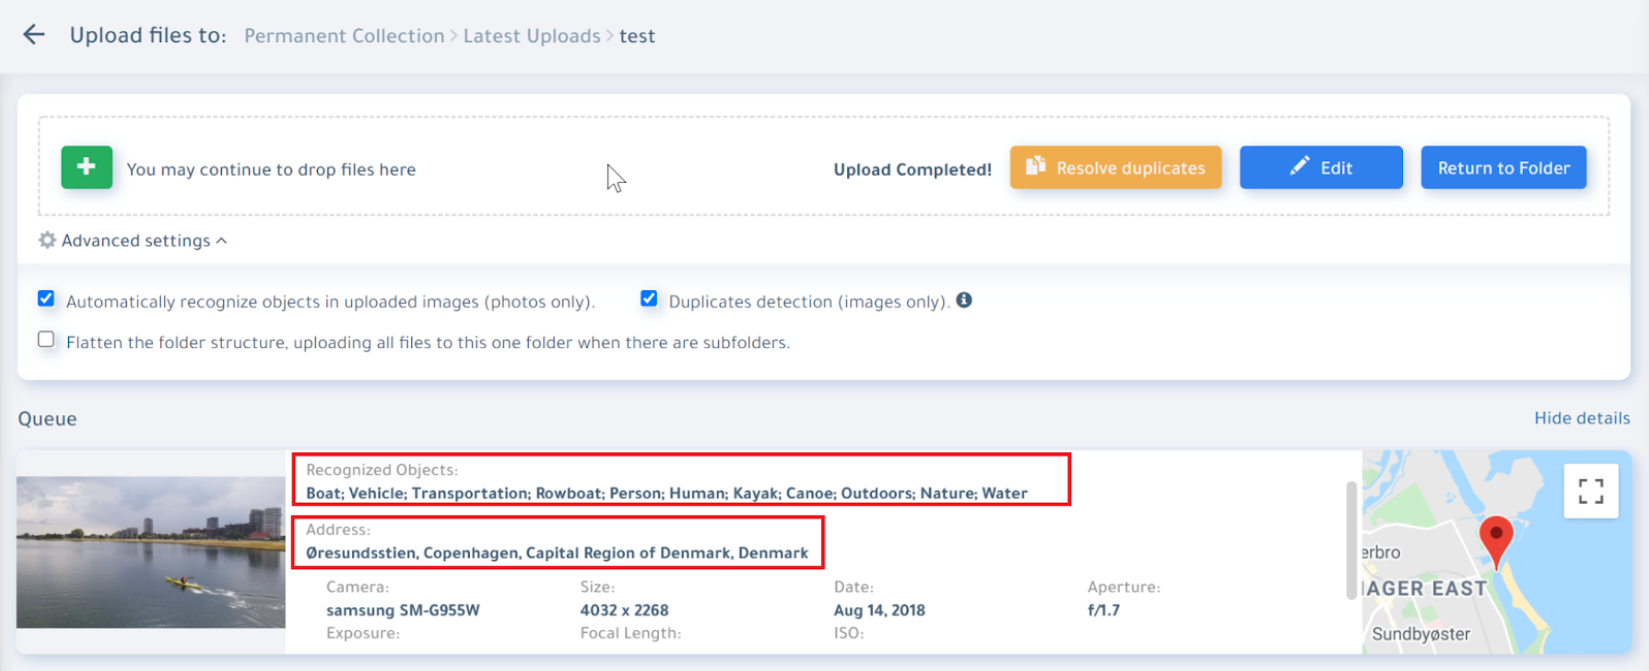
Press the Show/Hide Details button to toggle between details and just thumbs:
Seeing it in action
Notice how the Events folder is chosen on the left, and how the Show/Hide Details button changes what is shown about each file being uploaded.
Upon upload completion, choose one of three options:
- Return to folder: The simplist option, returning to showing the images in the folder.
- Edit: This allows metadata editing/tagging of all images just uploaded.
- Resolve duplicates: Shown only when ‘Duplicates detention’ is checked and there are duplicates.
Showing images just uploaded.
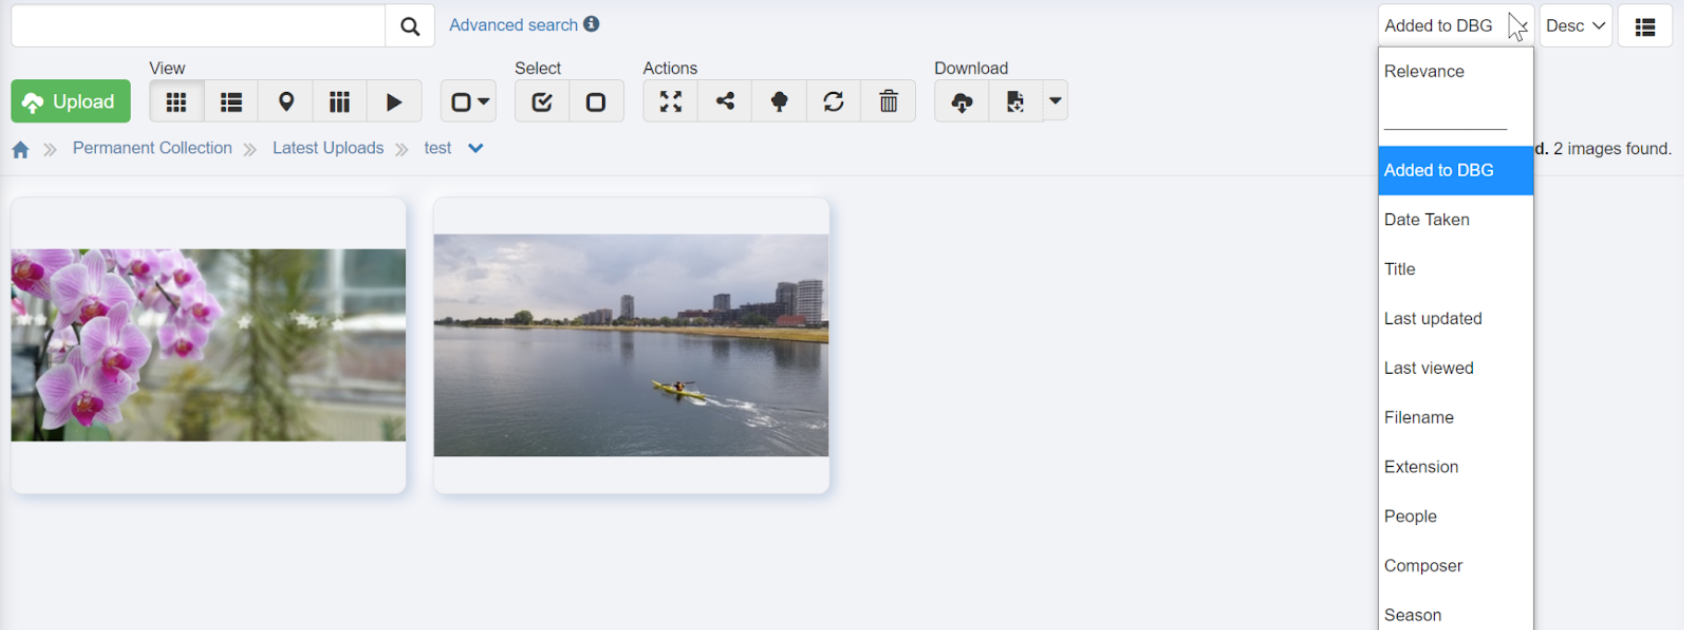
After returning to the folder, knowing which images where just uploaded isn’t always obvious. Have them rise to the top by choosing the sort by Added to DBG, and Desc. (Added to DBG = Added to DBGallery)